
Short answer: Pick the connector for the job, then match it to your strip. A joining clip links two pieces end to end, a 50mm corner connector turns a corner, an interconnecting lead bridges a gap, and a driver connection lead links the strip to the driver. Each Sensio strip has its own connectors, so match the connector to the strip name and pin type: 2-pin for single colour and TrioTone, 4-pin for CCT and 6-pin for RGBCCT. Everything plugs together with no soldering.
Sensio LED strip is plug and play. Strips join, turn corners and connect to the driver with plug-in clips, corner connectors and leads. This guide explains each type of connector, what the pin count means, and how to pick the right one. You can see every option in our LED strip connectors and cables.
Types of LED strip connector
Strip to strip: joining clips
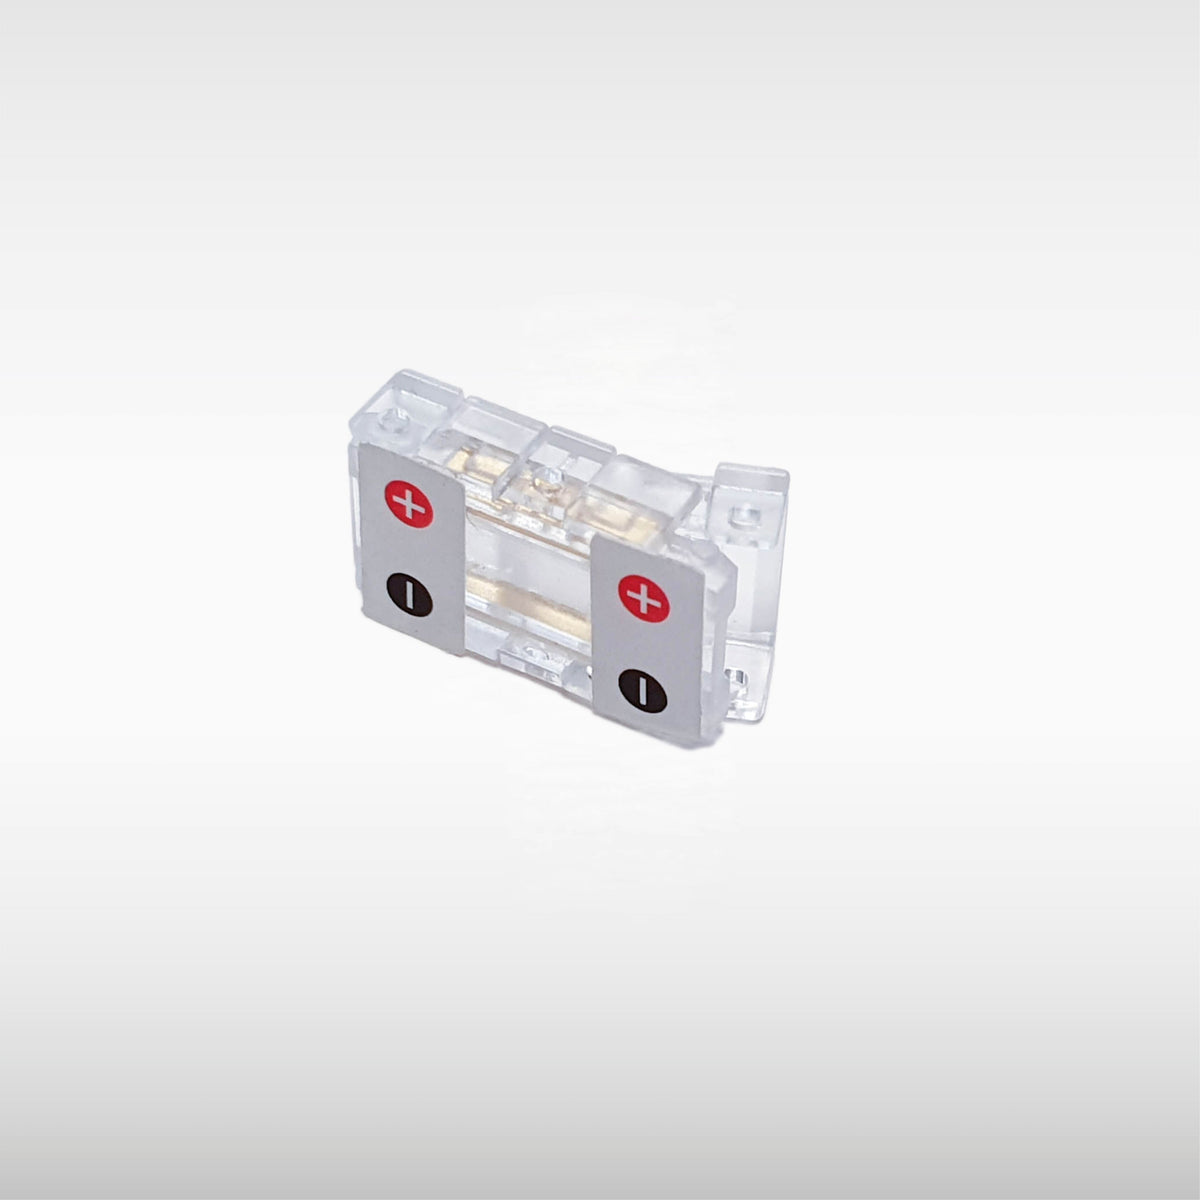
A joining clip connects two lengths of strip end to end in a straight line, without soldering. The Polar X Joining Clip, for example, is designed for Polar X strip only. There are matching clips for strips such as Sigma 2, Primo 2, Primo X, Razor, Ion 8, Polar Pro and Polar RGBCCT. For Viva 3, the Viva 3 Mini Cut Connector joins the strip after it has been cut to length.
Corner (L) connectors
A 50mm corner connector is a short cable that joins two sections of strip around a corner. They are made for Polar X, Polar Pro and Polar X Pro, Viva 3, Primo 2, Primo X, Razor and Ion 8, with a dedicated corner connector for Polar RGBCCT. Some strips do not need one: Sigma 2 bends around 90 degree corners without corner cables or a new run.
T-junction and Universal connectors
Our Universal range covers Polar X, Primo X, Sigma and Polar X Pro with one set of connectors: the Universal Joining Clip, the Universal Corner Connector, which joins two strips at a 90 degree angle, and the Universal T-Junction Connector for T-shaped layouts. The connectors are translucent, so the light carries on through the join with no visible dark spots.
Strip to driver: driver connection leads
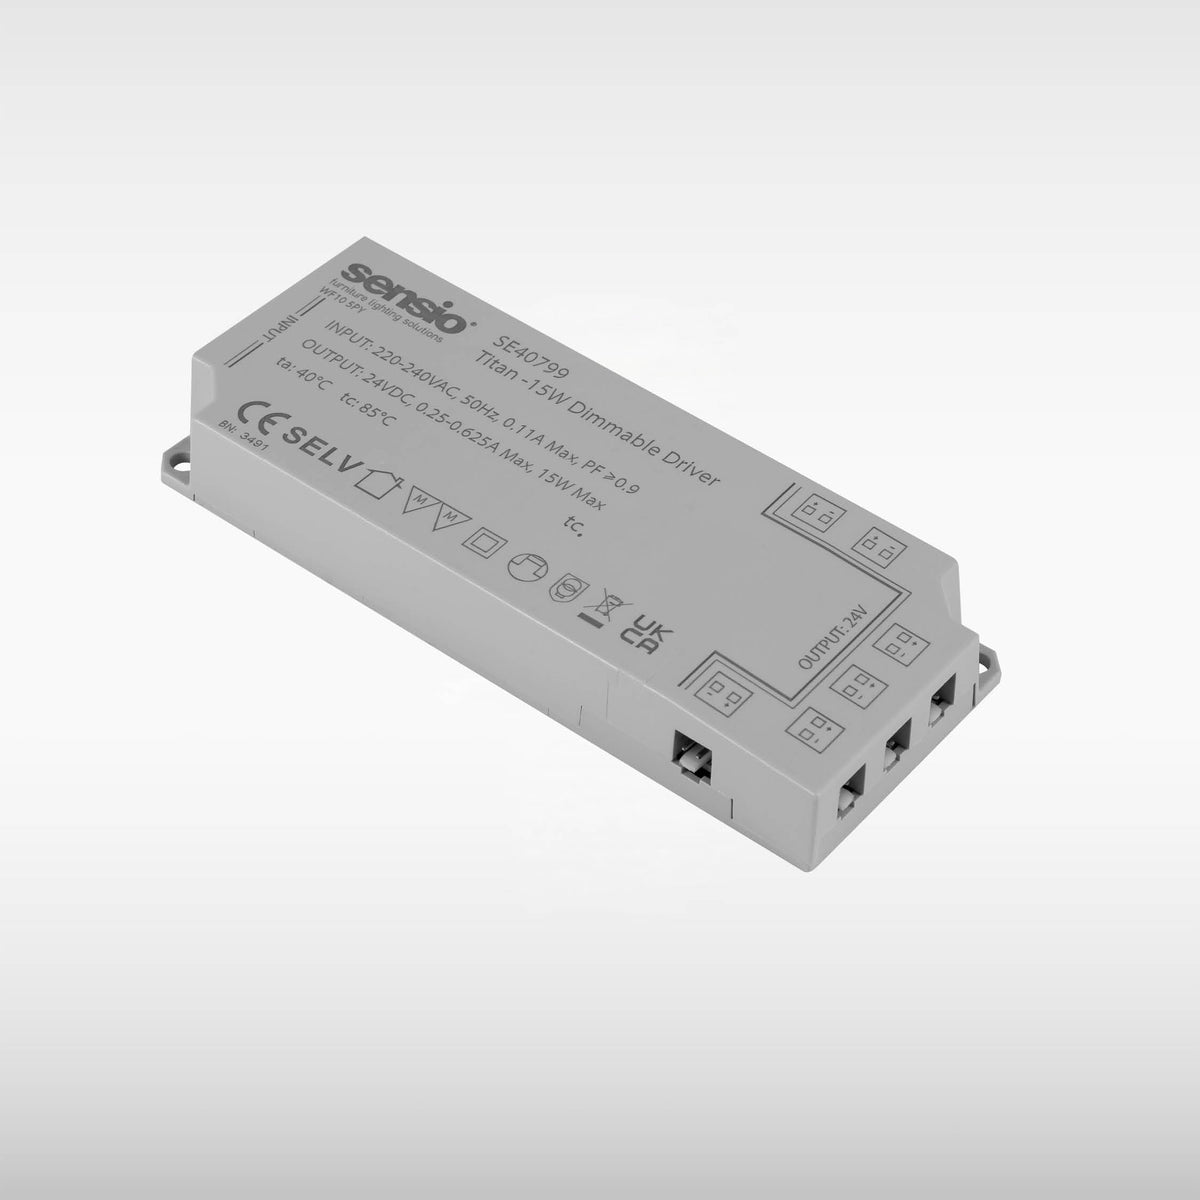
A 2500mm driver connection lead connects the strip to a Sensio LED driver. Each strip has its own, such as the Polar X lead, the Viva 3 lead, the Sigma 2 lead and the Razor X lead kit, and there are Universal driver connection leads in 2-pin and 4-pin. To plug the driver into a standard socket, add the Driver Lead with Plug.
Bridging a gap: interconnecting leads
A 1500mm interconnecting lead joins two runs of strip, so you can bridge gaps between cabinets or across doorways. The Universal 1500mm interconnecting lead comes in 2-pin for Polar X, Primo X and Sigma, and 4-pin for Polar X Pro.
Extension leads, port expanders and JB4 connectors
To put the driver further away, use a 2500mm extension lead: 2-pin for single colour and TrioTone, CCT (4-pin) or RGBCCT (6-pin). To run more lights from one driver, a driver port expander adds extra ports, in 2-pin, 4-pin CCT and 6-pin RGBCCT versions. Check the total wattage stays within the driver's rating. JB4 detachable connectors let you cut a lead to length and clip the connector on, so you do not need large cable holes.
What 2-pin, 4-pin and 6-pin mean
The pin count tells you what kind of strip a connector, lead or driver is for. The strip, its connectors and the driver must all have the same pin type.
| Pin type | Used for |
|---|---|
| 2-pin | Single colour and TrioTone |
| 4-pin | CCT (adjustable white) |
| 6-pin | RGBCCT (colour changing plus adjustable white) |
Which connector do I need?
| You want to | Use | Examples |
|---|---|---|
| Connect the strip to the driver | A driver connection lead (2500mm) for your strip | Polar X lead, Viva 3 lead, Sigma 2 lead, Razor X lead kit |
| Join two pieces of strip end to end | A joining clip | Polar X joining clip, Sigma 2 joining clip, Primo 2 joining clip |
| Turn a corner | A 50mm corner connector | Polar X corner, Viva 3 corner, Primo 2 corner |
| Bridge a gap between two runs | An interconnecting lead (1500mm) | Polar X lead, Viva 3 lead, Sigma 2 lead |
| Put the driver further away | An extension lead | 2-pin extension, CCT extension, RGBCCT extension |
| Run more lights from one driver | A driver port expander | 2-pin, 4-pin CCT, 6-pin RGBCCT |
| Disconnect the driver easily | JB4 detachable connectors | JB4 connectors |
| Plug the driver into a socket | Driver lead with plug | Driver Lead with Plug |
Each LED strip has its own connectors, shown on its product page, so match the connector to the strip name and pin type. Browse all LED strip lights to find yours.
Solderless or soldered connections?
Sensio strips connect with plug-in driver connection cables, clips and leads, so no soldering is needed, even after you cut the strip. On the free-cut X range, an extra driver connection cable (sold separately) lets you use the cut-off lengths too.
A soldered joint is permanent and needs the right tools and some skill. Plug-in connectors are quicker on site and can be undone if you need to change a run. If you would rather have runs made up for you, our TrueFIT service cuts and solders strip to your exact lengths, ready to fit.
Tips for a good connection
- Cut in the right place. Free-cut strips such as Polar X and Razor X cut anywhere. Others cut at marked points: Razor every 25mm, Polar Pro every 31mm, Viva 3, Sigma 2 and Ion 5 every 50mm, and Primo 2 every 100mm. See can you cut LED strip lights?
- Match the name. A connector made for one strip, such as the Polar X Joining Clip, is designed for that strip only. The Universal range is the exception, covering Polar X, Primo X, Sigma and Polar X Pro.
- Keep standard connectors dry. Clips and leads such as the Polar X Joining Clip are rated IP20, for indoor use in dry areas.
- Seal connections in bathrooms. Polar X IP65 is suitable for bathroom zones 1 and 2, provided the connections are sealed and the driver is fitted outside zone 1 (zone 2 or beyond, for example the Titan IP44 driver). After cutting, reseal the cut end or fit an end cap to keep the IP65 rating. The IP44 Driver Port Expander works with the Titan IP44 driver and IP65 strips.
- Size the driver. Add up the wattage of everything on the driver. See what size LED driver do I need?
- Mains wiring is a job for an electrician. If you want the strip on a wall switch, the driver is wired into the lighting circuit by a qualified electrician.
Watch: how to connect LED strip lights
For step-by-step help, read how to connect LED strip lights and how to cut, connect, fit and wire LED strip lights, or see all our video guides.
Frequently asked questions
Do I need to solder LED strip connectors?
No. Sensio strips join, turn corners and connect to the driver with plug-in clips, corner connectors and leads, with no soldering.
What is the difference between 2-pin, 4-pin and 6-pin connectors?
2-pin is for single colour and TrioTone strip, 4-pin for CCT (adjustable white) and 6-pin for RGBCCT (colour changing). The strip, connectors and driver must all match.
Can I use a Polar X connector on a different strip?
Not usually. Strip-specific connectors, such as the Polar X Joining Clip, are designed for that strip only. The Universal range fits Polar X, Primo X, Sigma and Polar X Pro.
How do I get LED strip round a corner?
Use a 50mm corner connector made for your strip, or the Universal Corner Connector. Sigma 2 bends around 90 degree corners without a corner connector.
How do I bridge a gap between cabinets?
Use a 1500mm interconnecting lead. It joins two runs of strip so you can bridge gaps between cabinets or across doorways.
Can I use LED strip connectors in a bathroom?
Use Polar X IP65, which is suitable for bathroom zones 1 and 2, provided the connections are sealed and the driver is fitted outside zone 1 (zone 2 or beyond, for example the Titan IP44 driver). Standard IP20 connectors are for dry areas only.
Not sure which connector you need? Contact our technical team, or browse all LED strip connectors and cables.